Wednesday, February 29, 2012

Swing, Set, Go!

Finally had the time to put the swing set all together. Still have to put my lattice and planter box for shade and neater look.


Depth is 32" so it can be a daybed :-)

I'm almost ready for Spring!

A Frame Dimensions:

Swing seat dimensions on Ana White Pin It

Friday, February 24, 2012

Swing with A frame stand

Spring is almost here and I want a swing. I just can't hang it on my porch, not enough clearance. I've originally planned for arbor and swing so I can plant flowering vines by it. Well, digging and mixing and pouring concrete mix is something I don't think I want to try this time. So, I opted for A frame stand that doesn't involve the above. It is freestanding so it can also be moved anytime and anywhere in the yard. I will attach lattice so I can still have my flowering vines.

Building the A Frame
4X4 pressure treated wood
Groove for the beam
additional beam support, (get that good 'ole chisel and hammer ready :-)
nail to hold it in place then use screw and lag bolt
add lower brace support
then the upper brace (I made groove for both braces)
...and the A frame

paint and let dry

 Building the swing
make the side frame
front and back frame
attach two 2 X 4 under the seat, longer on both ends for the eye bolt
attach the armrests, back support and more slats
ready for painting!
  I can't wait for it to dry completely so hubby can help me put them together. Pin It

Wednesday, February 22, 2012

Forsythia

While visiting my in-laws in GA, I can't help but notice that a lot of their forsythias are blooming. We have couple in our yard but temperature in GA is warmer than our place. The tiny yellow flowers looks so beautiful. When we're getting ready to get back home, I can't resist so I cut handful with few flowers in them.


I put small amount of indoor plant food in the water, after one day more flowers bloomed!

 Sooo pretty! I also like those tiny green leaves that popped out, it adds more color. Pin It

Stenciled "Welcome" sign

I was about to enter my front door when I thought " this door is so flat black!". It's funny because I entered that door countless times without noticing the color! So I thought it would be nice to put welcome sign with aqua blue paint on it. I just don't have the right color but I don't want to wait, or I don't have most of the materials because this idea just came into my head and want to do it right away ( what's the word? impulsive? maybe sometimes, depending on who you ask :-).

I don't have stencil sheet, so I used a white paper conveniently laying around that came from my husband's new shirt. I'm lazy to turn on my computer to print a "welcome" word so I freehand it (that later I regret hah!)
 That paper is so boogered up!.. I really could have found better cardboard if I had put a little effort.
 
To prop up, I used a pizza box that I had yet to throw away from last night's dinner (haha!, this is crazy!)
Sturdy enough, I think


 That doggone 'm' is too close to 'o' and 'e', I really should've printed it
I don't know how welcoming this entrance door even with "welcome" sign on it with that bright bright red "beware of dog!" that my 'oh-so-friendly-husband' put :-))

Welcome to our home!


Pin It

Monday, February 20, 2012

Cut your lumber price to 50 % or more

I did! and better quality too. How? I went local.

Since I know I will be building more furniture, I decided to shop local. Well, I always try to go local first if I can, the only problem, local shops don't have everything. But, things like gardening stuff and local restaurants are not difficult to find.
Another thing that really got me to find local lumber store is when I was  cutting up the plywood for the back cover of my entertainment center when I noticed the SKU tag with "made in China" in it. I was flabbergasted! I can't believe that even plywoods we used here in the US were made and shipped from China. In my mind, US have more trees than China, or?... do we ship our trees to China so they can make plywood that get shipped back and sold in the US? That's a lot of shipping if you ask me.
Oh well, there's nothing I can do about that but, I know I can buy my lumber locally.

So, I did!

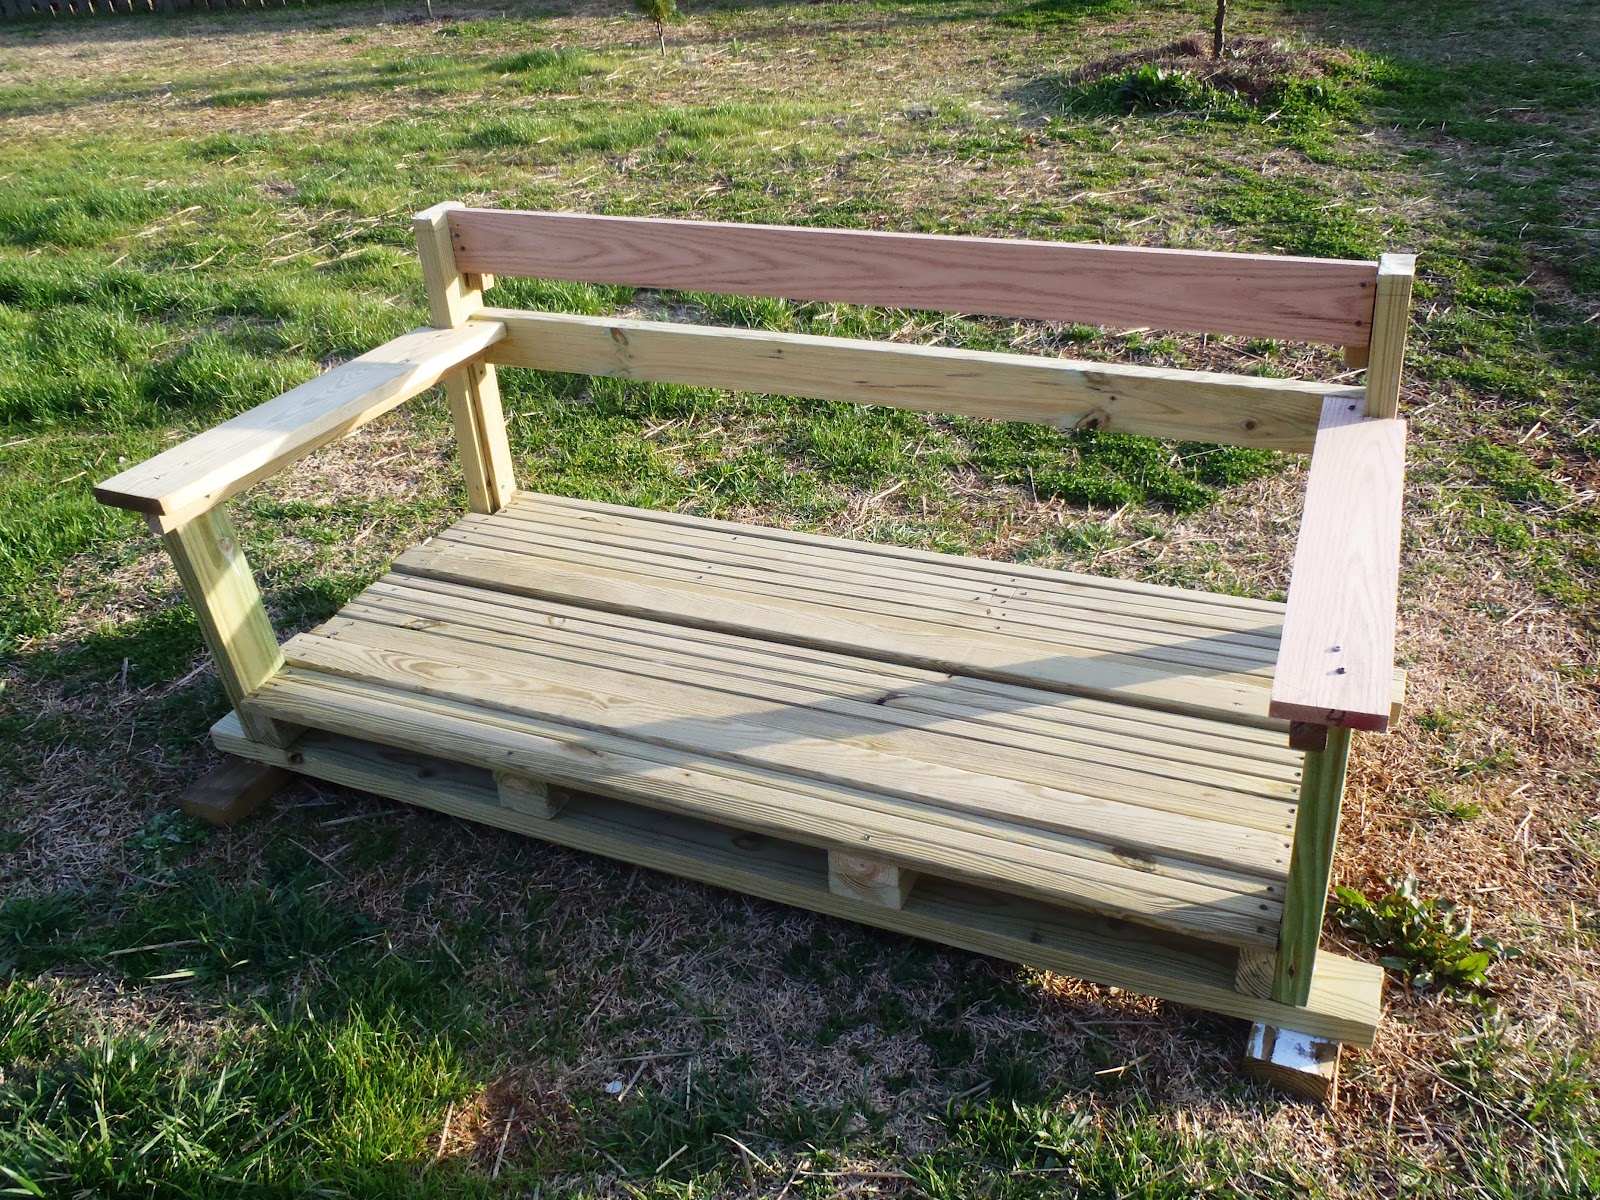
I found this nice retired couple who are hobbyist. They cut, mill and dry their own lumber and some that they sell for half the price of lumber from big box home improvement stores. Even better, their woods are first class, kiln dried hardwoods.

And, their kiln is solar!
So now, I'm not just reducing the transportation environmental impact but also using solar as energy.

Their barn made of entirely poplar they milled 15 years ago.
With free range chickens!
Running away from my camera :-)
Two of their 12 cows came and see me.
Feeding sweet Six ( her name)
..and Three also came to get some treats from me.
Chickens, cows (Six and Three) and two donkeys came to show off  :-)
Sadie is soooo sweet! she allowed me to pet her as long as I want!
...and Nibbler, I think I know where her name came from, because she likes to nibble my fingers when I was petting her, she too is sooo sweet!


Sadie and Nibbler made me want to have donkeys one day!

Me and my husband had a great time, not to mention we got our first class lumbers really cheap! 
 
Sooo... 

If you are like me who likes doing woodworking, I suggest you find someone who owns small sawmill locally (if you hadn't done it already). Not only you're supporting your local community economy but you are reducing the environmental impact caused by the transportation of lumber by the nationally/internationally owned businesses.
  
Why buy local?

1. Several studies have proven that when we shop at locally owned businesses, we support our local economy because more of the money are spent to other local businesses.

2. Buying local reduces environmental impact (as mentioned above) because local purchases requires less transportation. Most local businesses purchase and most of them produce/make their own products. Less transportation means  less sprawl, habitat loss and pollution.

3. Local businesses often have better customer service because they know their product better.

So folks, let's try to go local first!
Pin It

Saturday, February 18, 2012

My stenciled curtain

The curtains I made for our living room window are very neutral in color and traditional in style. Since couple of the accent furniture I built have modern twist on them, this curtain have to be updated (it's been a while anyway).


I'm going for a more contemporary look this time. So, I drag my husband to the fabric stores to find some curtains. While in store checking on the curtains, I got so baffled by the prices! In my mind was the three figured number for just two window curtains? Hubby keep explaining that curtains are priced that way, well OK, I could turn off my "less" switch this time and go ahead and buy curtains, the thing was, all the curtain design/prints were not EXACTLY what I pictured in mind that I want to have. Either the prints are too small or wrong color. So guess what?....we ended up not buying any from that store and two more stores we checked and still came home empty handed.

Couple days later, I went back to one of the fabric store and bought me 6 yards of plain white fabric (poly/rayon),craft knife, textile paint, stencil sheet and spray adhesive. I am making my own stenciled curtain!

Here's how I did it.

I drew the swirl pattern on a white paper
Repeatedly traced it on the stencil sheet
 Using craft knife, I cut off the swirl pattern leaving some "bridges" to hold the stencil shape in place.

 I laid the stencil on top of the fabric ( right side up) using spray adhesive then dabbed the brush with paint on the stencil.
Repeating the procedure.

After sewing the seams and .....VIOLA!  the right curtain at last!


I love the sienna bronze rod and rings exposed, I think it give contemporary look that I was craving for.  


Pin It